
CALL US

Tear Down Your Shed Without the Mess: Dumpster Tips for Efficient Cleanup
Old, damaged, or unused sheds can become an eyesore and take up valuable space in your yard. Whether the structure is rotting, unsafe, or simply no longer useful, demolishing a shed can be a smart move. However, many homeowners underestimate the amount of debris involved and end up with piles of wood, nails, roofing material, and clutter scattered across their property.
If you’re planning a demo shed project, the right cleanup strategy—especially dumpster planning—can make the entire process faster, safer, and far less stressful. This blog will walk you through how to demolish a shed, manage debris efficiently, and use dumpster rentals to keep the job clean from start to finish.
Why Shed Demolition Requires Careful Planning
At first glance, removing a shed may seem like a simple DIY task. But sheds often contain a surprising mix of materials, including:
- Pressure-treated lumber
- Metal fasteners and brackets
- Asphalt shingles
- Concrete blocks or slabs
- Electrical wiring or shelving
Without a proper disposal plan, debris can quickly overwhelm your yard and delay the project. Planning for waste removal is just as important as the demolition itself.
Prepare Before You Demolish a Shed
Before you begin demolishing a shed, preparation is key.
Pre-Demolition Checklist:
- Empty the shed completely
- Disconnect any electrical connections
- Check for permits if required locally
- Identify hazardous materials (paint, chemicals, treated wood)
- Decide how debris will be removed
This preparation stage sets the foundation for an efficient demo shed project with minimal mess.
How to Demolish a Shed Safely and Efficiently
Understanding how to demolish a shed properly can prevent injuries and property damage.
Basic Shed Demolition Steps:
- Remove doors, windows, and trim
- Take down roofing materials first
- Dismantle walls panel by panel
- Break down the floor structure
- Separate materials for disposal
Working from the top down reduces collapse risks and makes cleanup easier.
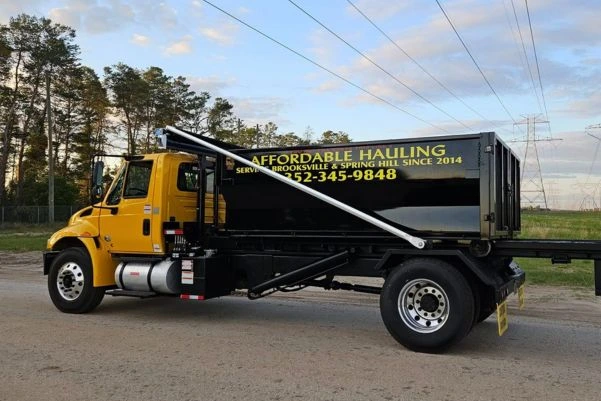
Why Dumpster Rental Is Essential for Shed Removal
One of the biggest mistakes homeowners make when removing a shed is underestimating debris volume. Multiple trips to the landfill are time-consuming and costly.
Using a professional dumpster rental service allows you to:
- Dispose of all debris in one place
- Maintain a clean and organized workspace
- Save time and labor
- Avoid overloading personal vehicles
Having a dumpster on-site keeps your project moving smoothly without interruptions.
Choosing the Right Dumpster Size for a Demo Shed
Selecting the right dumpster size is crucial for efficient cleanup. Too small, and you’ll need multiple hauls. Too large, and you may overpay.
Common Dumpster Options:
- 10-yard dumpster: Small sheds or partial demos
- 15-yard dumpster: Medium-sized wooden sheds
- 20-yard dumpster: Larger sheds with roofing materials
- 25-yard dumpster: Large sheds, heavy debris, or multiple structures
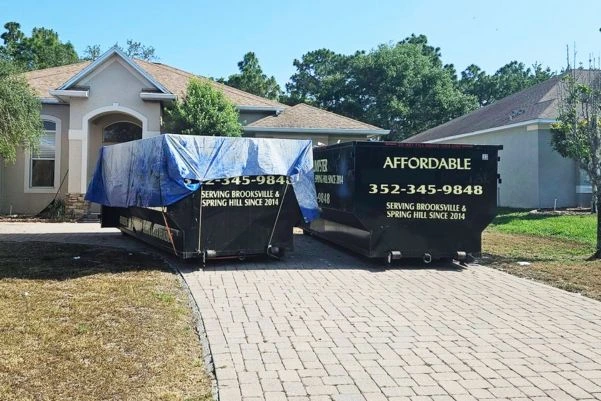
For most full shed demolitions, a 25 Yard dumpster rental is ideal. It provides enough capacity to handle lumber, shingles, flooring, and miscellaneous waste without overflow.
Dumpster Placement Tips for Easy Shed Demolition
Where you place the dumpster matters just as much as having one.
Best Practices for Dumpster Placement:
- Position it close to the shed to reduce carrying distance
- Ensure a flat, stable surface
- Avoid blocking driveways or access points
- Protect surfaces with plywood if needed
Strategic placement improves safety and speeds up debris loading during demolishing a shed.
How to Load a Dumpster the Right Way
Efficient loading maximizes space and prevents safety hazards.
Dumpster Loading Tips:
- Break down materials into smaller pieces
- Lay flat items like plywood at the bottom
- Distribute weight evenly
- Avoid overfilling past the rim
- Keep prohibited items out
Proper loading ensures your demo shed cleanup stays compliant and efficient.
What Can and Can’t Go in the Dumpster
Most shed debris is acceptable, but some materials require special handling.
Commonly Accepted Materials:
- Wood and lumber
- Roofing shingles
- Metal fixtures
- Flooring materials
Items to Avoid:
- Paint cans and chemicals
- Batteries
- Electronics
- Hazardous waste
Always confirm acceptable materials with your Dumpster Rental Service provider before starting.
Reducing Mess During Shed Removal
The goal is to tear down the shed without turning your yard into a disaster zone.
Mess-Minimizing Tips:
- Work in sections instead of all at once
- Load debris directly into the dumpster
- Sweep debris frequently
- Use tarps for loose materials
- Wear proper safety gear
These steps keep your property clean throughout the removing a shed process.
DIY vs. Professional Shed Demolition
While many homeowners handle shed demolition themselves, larger or older structures may benefit from professional help.
DIY Works Best When:
- The shed is small
- No concrete foundation is involved
- There are no electrical components
Hire Professionals When:
- The shed is large or deteriorated
- Hazardous materials are present
- Time and safety are concerns
In both cases, a dumpster remains essential for efficient debris disposal.
Environmental Benefits of Proper Shed Cleanup
Responsible disposal during demolishing a shed reduces environmental impact.
Eco-Friendly Benefits:
- Minimizes illegal dumping
- Encourages recycling of wood and metal
- Reduces landfill overflow
- Keeps neighborhoods clean
Many dumpster services sort and process materials responsibly, adding sustainability to your project.
Tearing down a shed doesn’t have to be chaotic or overwhelming. With proper planning, safe demolition techniques, and the right dumpster solution, you can complete your demo shed project efficiently and without the mess.
Understanding how to demolish a shed, choosing the correct dumpster size, and partnering with a reliable Dumpster Rental Service ensures that removing a shed becomes a smooth, organized, and stress-free experience.
When cleanup is handled correctly, you’ll be left with a clean slate—and plenty of space—for your next outdoor project.